08 Jan 2019
By Belle

How to get an API token for Exist
If you're interested in writing your own integrations for Exist, writing an app, service, or script that works with Exist, or even just setting up some iOS shortcuts to work with Exist, you'll need an API token to get started.
An API token is kind of like a password, only it's generated for you. It's a way of identifying you so that your shortcut, script, or app will work with your Exist account. Often you'll find apps either ask for your username and password, which they use to create tokens for you, or they'll bump you to a web page where you can log in to a service like Exist, which sends a token back to the app you want to use.
The handy thing is, when you're just testing, or you're building something for personal use, there's an easy way to get a token without having to handle any of this log in process. You can simply log in to Exist on the web, and create your own developer client—you'll automatically get a token created that you can use just for you. If you're not planning on sharing what you're building (or you're not ready to), you don't need to worry about tokens for anyone else.
To make a developer client, you just need to fill out a form. But for lots of personal projects, like iOS shortcuts, most of the form isn't relevant, so I'll quickly run through how to fill it out to get a token you can use ASAP.
To start, log in to Exist on the web and click your username in the top right:
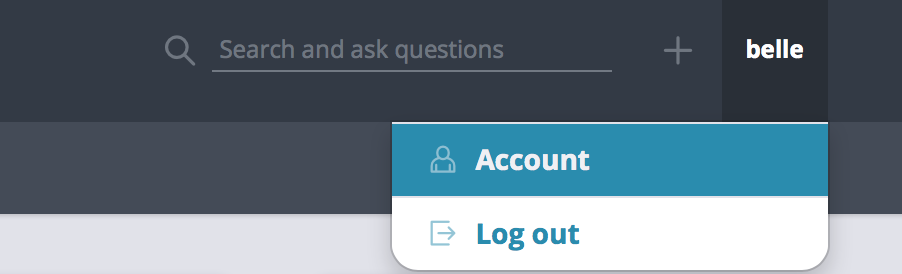
Choose account, and you'll end up on the account page, where you'll see a menu option that says "Developer clients":
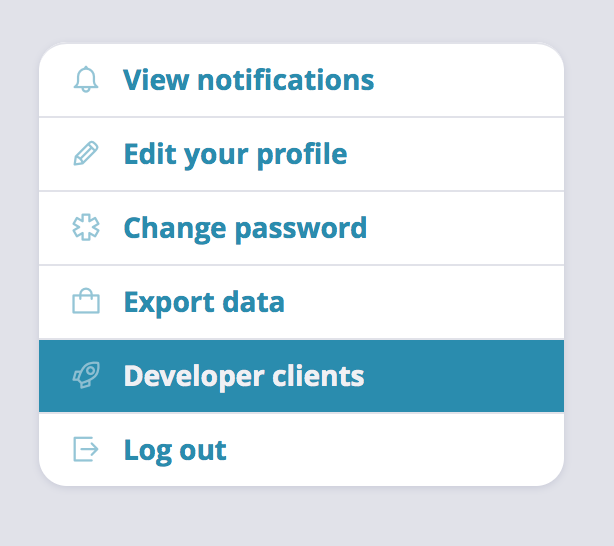
Click on Developer clients, then click on the menu option that says Add a new client. Now you'll see this form:
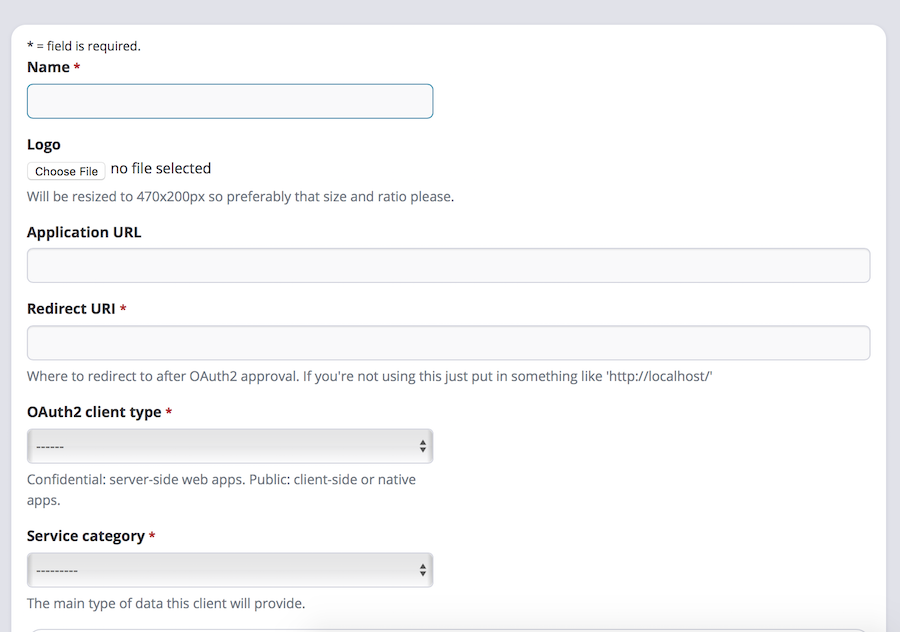
I'll just go through the required fields, because any without the red asterisk can be left blank. For the name, choose any name you like. If you're building an app or service, you can use the same name here. If you're building something like a script or an iOS shortcut, you can just name this something like "iOS shortcut client".
For Redirect URI, there's a helpful note underneath this field to tell you what to enter if you're unsure: If you're not using this just put in something like 'http://localhost/'.
The OAuth2 client type doesn't matter much if you're not going to use it. If you're not sure, you probably want to choose "Public" for this one.
Service category is mostly useful if you're going to make what you're building public, because it helps users understand what your project is for. If you're not going to limit yourself to a single data category, choose anything you like here.
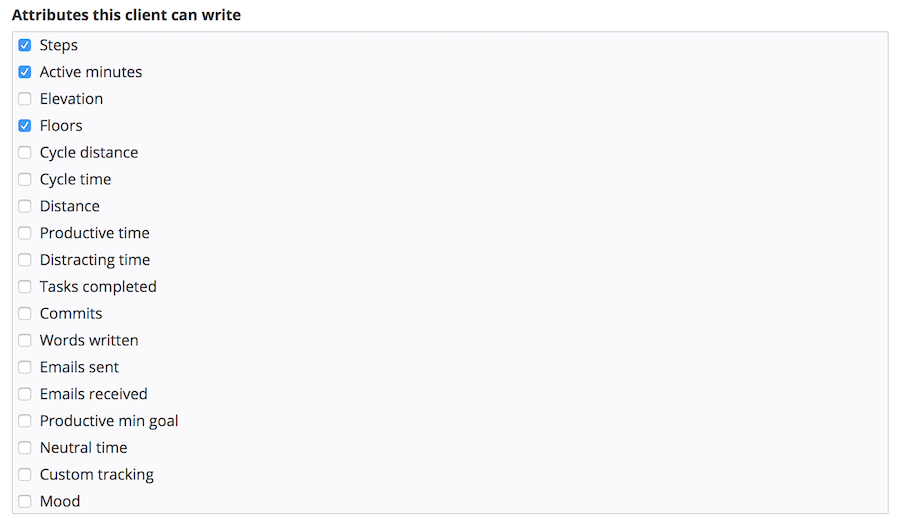
Finally, though it's not marked as required, you'll need to fill out the Attributes this client can write section if you plan on syncing any data into your Exist account. If you're only reading data out of Exist, you don't need this. But if you want to sync data into Exist, you need to check the boxes in this list for every attribute you'd like to be able to sync. Any attributes you don't select here will fail if you try to update them using the token from this client, but you can always edit this client to select more of these attributes later, if you need to.
That's all the required fields done, so now you can click "Save".
After saving you'll end up on a page with information about your developer client. At the bottom you'll see a section with your access token, like this:
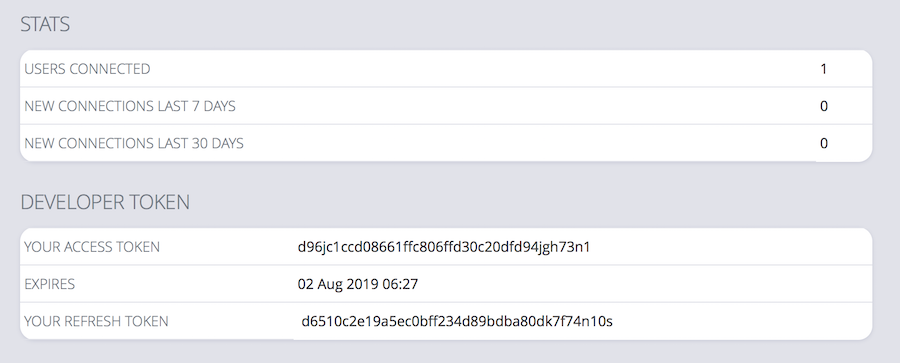
You can take this access token and use it to sign your requests to the Exist API, which is explained in our API docs.